Sunday, May 5, 2013

Change the Honey Oak


I can probably tell your age by looking to see if you have honey oak furniture.  If you do, well you probably are close to, or in your 50's.  Most of us entered the honey oak stage in our early marriage days.  With it came some unspoken rule that it was to" never be painted."  Now days the pieces that jump to my attention are the painted pieces of furniture, while the honey oak just looks like it needs a face lift.


So this honey oak side table was abandoned at a garage sale.  My friend knew that I no longer abided by the unspoken rule of "don't paint your honey oak furniture" so she rescued this piece for me to play with.


Daughter needed a side table for her "newly-wed room".  She didn't want anything that look like what she grew up with...it had to be modern day, rustic glamour.

I spray painted the honey oak silver.


I found two knobs at Hobby Lobby.  One a glass rose and the other a rust iron knob.  I took the rusted iron knob apart just for the back piece.  I grabbed my silver spray to the iron knob.

The glass rose was then threaded through the iron back piece.....waala....a new knob.


One honey-oak dated side table transformed into a modern day, rustic glamour side table.


Maybe it is time to hide your age by updated a few pieces of your honey-oak....just saying, we all need a face-lift at one time or another.

Friday, May 3, 2013

Floor Cloth Tutorial


My floor cloth post from my original blog has been featured on http://craftstew.com/rugmaking/rugmaking-links....Craft Stew.


My original post on how to make a floor cloth - http://janettessage.blogspot.co.il/2011/10/what-is-floor-cloth.html

Check out this post...you will see other links to some wonderful blogs for making items for your home.


Sunday, January 13, 2013

Temporary Wall Treatment


I have to confess...I enjoy wallpaper.  My first wall treatment, as a newly wed, was to wallpaper an accent wall in my Master Bedroom.  Wallpaper would enhance our first family home, until it went out of style and I covered it with texture.  Once again wallpaper is making a come back.  As in the past it can be very costly, and something you wouldn't want to invest in for a temporary housing.

What can you do?  I needed something that I could add to the walls and yet also remove easily when vacating our rental housing.  In comes fabric wallpapering.  No, it isn't the fabric covered walls of the 80's which I also did, but gluing fabric on the walls with liquid starch.  I am seeing it mentioned all over the place, even in the recent issue of Mary Jane's Farm.

Here is how I have used it in my own home.
I cut the flowers from the left over fabric from my curtains.  I spray starched the flower to make them stiff.

I painted liquid starch over the flowers to attach them to the wall.

They can easily be pulled from the wall leaving the painted, textured walls in tact.


The same method is used for a full wall. You apply the fabric to the wall with liquid starch for the glue.  When you are ready to leave or change, you seemly pull the fabric from the wall.  The fabric can be washed and used again on other projects.

Now for me to find a full wall...or room, to fabric wallpaper.

Monday, November 26, 2012

Time to Project!


I wanted to introduce you to my newest favorite decorating tool.  Yes, this magical device can take this novice artist and make me look like I know what I am doing.  I can project on the walls, on furniture, the ceilings....you get the picture.  This little machine was purchased through a Craigs listing for pennies on the door.


I got my graphics from Graphic Fairy...her pieces are great. I am even tracing one on kitchen towels tonight.
This dresser is a cast off from my daughter. I mod-podged the top with scrap paper and stained the rest of the piece....still tooooooooooo boring.


You just set your machine over the image you want to project onto your surface.
You will have to adjust the distance by moving the machine closer or further back.
Just like in school...now that was really years ago.


This looked great and I think I will reduce it and put it beside the sewing machine.


I decided on the sewing machine since this dresser holds my sewing supplies.

Now just trace...it is that easy.  I traced first with pencil and then with black sharpie pen.  The finished piece will be revealed later.

This is fun...now to find other places.  I am looking for a wall to project a table onto...it won't take up room space, yet it will look like a piece of furniture.  Where might you enjoy projecting?


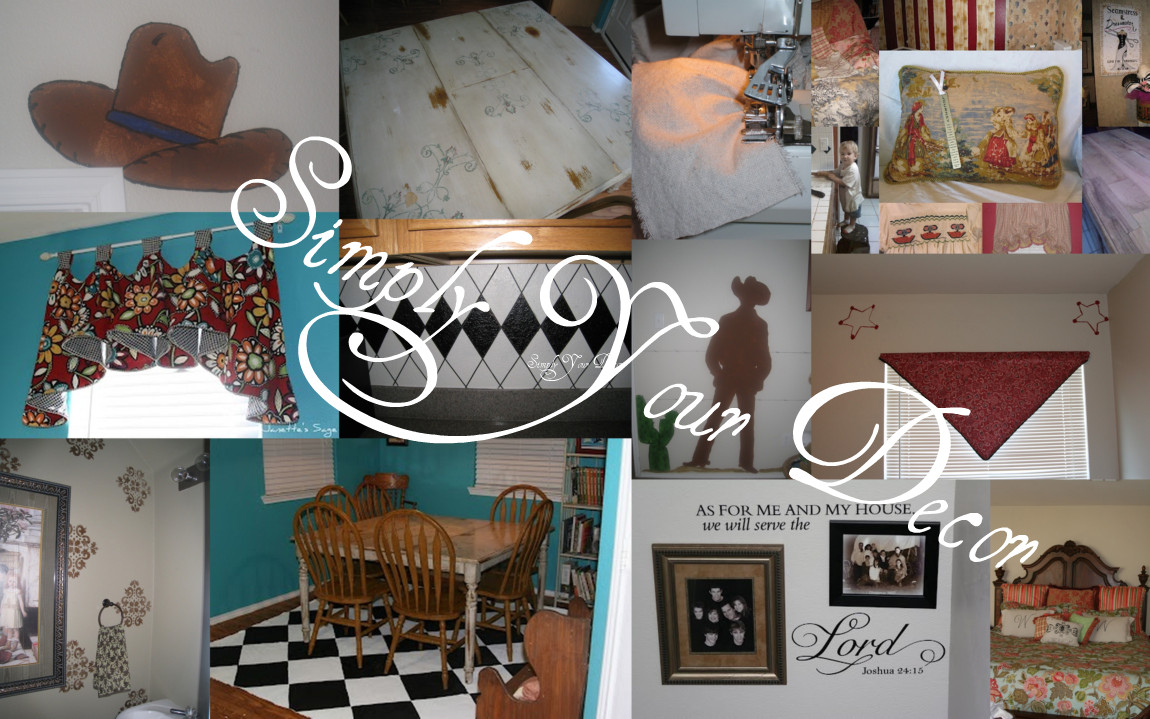
My first project with my projector was my son's room.  Here is the full blog post of his room - http://janettessage.blogspot.com/2012/05/cowboy-room-reveal.html

Let your imagination take you beyond your abilities with a projector!  

Monday, November 5, 2012

Drop Cloth Magic


Every since I discovered drop cloths I have been using them for everything.  Pillows, floor cloths, shams and now a table cloth have been made with drop cloths.  My next project is going to be curtains.  Price per yard can't be beat.  Drop cloths are not all the same...so shop around.  They vary in color and even vary  if they have a seam down the middle or not.  Just throw them into the washer and dryer and get busy with your imagination.

This drop cloth was purchased at Wal-Mart for $20.00.  I will be covering a dining room table that seats 12 and is four feet wide.  There wasn't any seams in the drop cloth and all the edges were already turned over.  I washed and dried the drop cloth and cut the width down.  I turned the seams over to have a clear edge.


I ironed out the drop cloth.  I made a stencil for my "W" that would be painted on all four corners.


Since this would be a very long table cloth I wanted something in the middle. So I stamped a design with black paint.


Making an oval design with my stamp.


  In one afternoon I had a very large custom table cloth for $20.00!!!

Now to try curtains with another drop cloth...so far I haven't made anything from them I didn't enjoy.

Joining  Sew Many Ways

Sunday, October 21, 2012

I See Blue!!!

Blue! Do you love blue? 


Well if you have an eye for blue you must be enjoying all the trends today.  No matter which color of blue you enjoy you can find a new twist.  The combinations are unstoppable.  Just one trip down the rolls of fabric and you can image a whole household of blue and each room could feature a different shade.  The classics, the retro and the modern taste can find a blue to add to their decor.

Blue seems to be matched with every color.
Blue and Red
 Blue and Lime Green
Blue and Yellow
Blue and Pink

It has become a neutral all in itself.   Here are just a few I came across.

Hobby Lobby is one of my favorite stores.  Watch for their 50% sales and you can find accessories to add to any design style....the fan, material and lamp were found at Hobby Lobby.
Do Any of these combinations of colors catch you eye?
Lamp and pillow found at Tuesday Morning.
Table - consignment shop.
Material discount house in the area.
How about blue and yellow?
Contemporary or traditional....blue is finding its way back into our homes.

Do you like blue? What combination seems fresh and new to you?


Monday, October 15, 2012

Hollywood Glamour

I plan to have a  regular feature post exploring what can be found in local discount stores.  My camera will replace actual buying, then I will build a room from what I found.  This will bring practice to the decorating adventure, as well as, show you the items can be found on a budget.  So here we go on my first shopping post...yes, I do need to find a catchy name for the regular post, all suggestions are welcome.

Hollywood Glamour Master Bedroom

My eye caught this headboard when I entered Tuesday Morning.  I will probably use this headboard
in a few examples, because it is very versatile.
Today I will use it as the backdrop for a Hollywood Glamour Bedroom

This headboard was regular price at $800.00, but with mark-downs, Tuesday Morning was selling it for 
$350.00  I felt that was a bargain   I do know how to make this headboard, however, unless you are a DIY'er who found reasonable material, it wouldn't be worth i,t nor save you any money.  This was a queen size headboard.


To accent this bed I found a wonderful large rug.  The rug is large enough to be grounded under part of the bed.  It measured 8' x 10" - again a Tuesday Morning items for under $400.00


I also found this rug on line....more pricey, but it gives a whole different look


Then I ventured over to Home Goods...it is part of TJ Maxx...so if you don't have one, TJ Maxx carries a smaller selection in their stores.
This was the Hollywood Glamour Piece


A little too much pattern for you...remember this would be in Master Bedroom...plenty of room to handle both the carpet and this piece.  If too much, trade out the carpet.  The cream and the white would compliment each other.  The grey in the second rug would blend with the silver of this piece.  This next piece would bring white in again on top of the blue/cream rug or pop on the yellow/grey rug.


Notice the same detail as the headboard?  What a wonderful glamours chair.  White leather!

Home Goods Store...I think it was right at $200.00 

Now lamps....I could add and add to this department....each bringing in a new look


A little too contemporary?  I think a mercury base lamp would be great or cut glass.
This more traditional....both lamps at Home Goods...under a $100.00 each.

Bedding, curtains, pillows?  Oh the fun stuff that sets a room apart.  Color combinations are wonderful.
I headed to the fabric store.

Sorry it is only a swatch, I didn't take a picture of the whole piece, but it is wonderful.
This would be my jumping off piece.  Look at all the colors - grey, steel blue, yellow and greens.
I would probably use this as shams on the bed with a neutral bedspread.  I would build  forward with pillows highlighting the different colors.

What about the walls?  I hoped you would ask.
I would take the light grey and paint all the walls in a flat grey. I would then stencil tone on tone.  This is where you stencil the same color over the top but in gloss.  I would make a stencil from the furniture piece, repeating that design in the subtle way with the gloss paint.  I would only stencil the wall behind the bed, leaving the rest of the walls in solid flat.

There you have it and all these pieces could be found in your local stores.  Each at fractions of full retail cost.
I would continue to tweak this room as I shopped around more...for now this is a beginning.


Another option changing out the rug and lamp.

Remember if you have a catchy name for the regular post please suggest!!